Wifi Robot
I really love implementing things over the internet because almost all devices have some capability to send and receive http requests and render websites. So why not a robot? Leave the robot within range of a wireless network and control it from… that’s right… the internet?
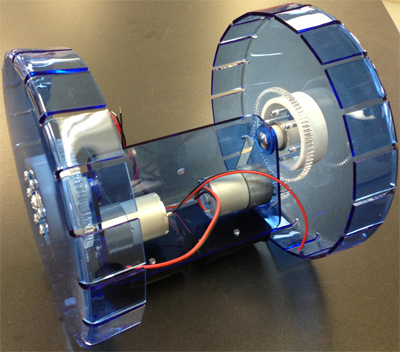
A friend of mine had just given me a Raspberry Pi, which I was interested in trying as a robot controller anyways, so I got to work.
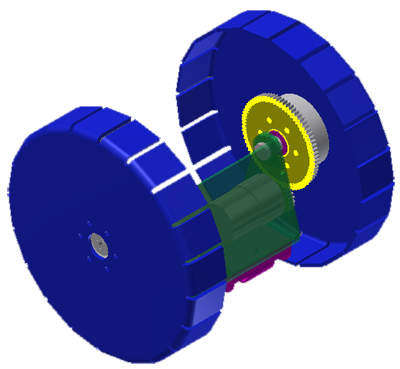
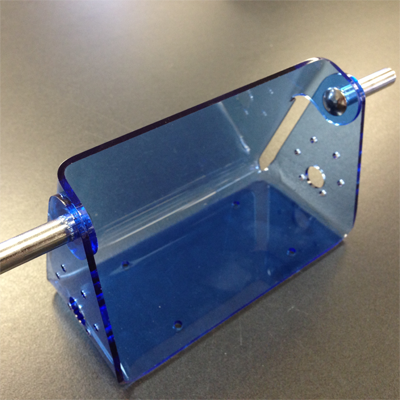
After spending some time sourcing parts and working in Autodesk Inventor, I developed this design. I focused on designing a simple machine that was modular, easy to build, maintain, and contained as few parts as possible. Most of the parts could be laser cut out of plastic, with a few spacers that needed to be made on a lathe.
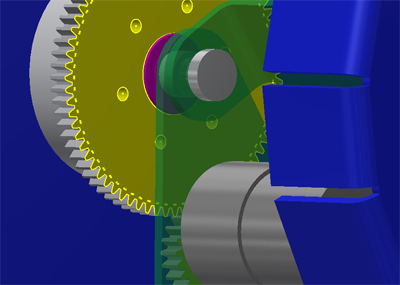
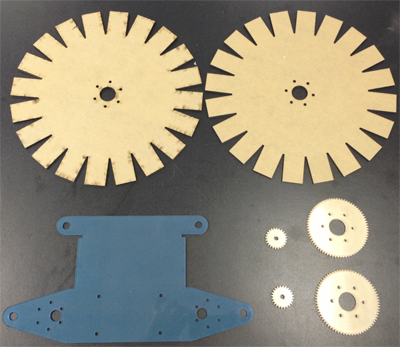
Autodesk Inventor has some wonderful tools, including a gear designer, and some great sheet-metal designing tools. I always like solving multiple problems with one solution – who doesn’t? This is a small design point, but using a pressed in axle to both pin the chassis together and provide a mounting point for the wheel it a detail that I’m proud of. The design of the gears allows me to quickly and easily replace the current gear set with different ratios to change my speeds and torques.
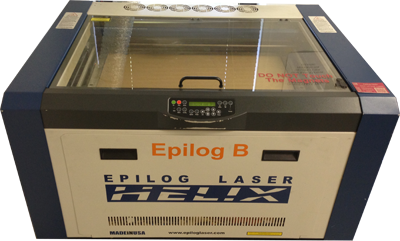
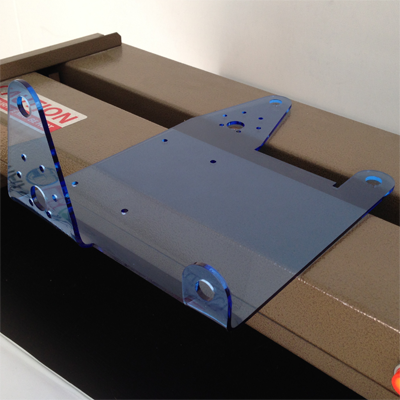
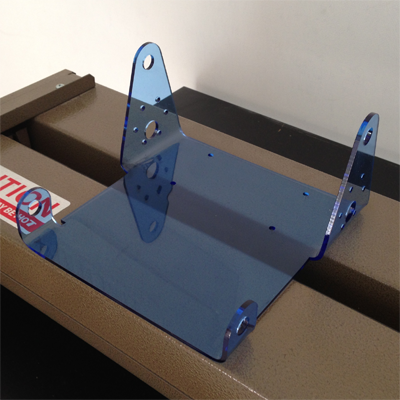
Cutting robot parts was quick and simple, using .dwg files from Autodesk Inventor and an Epilog laser cutter. The last mechanical thing to do was bending the acrylic into finished shapes.
I made a jig and used a linear heating element to bend parts of the chassis into place. The acrylic seems to get fairly bendy between 250 and 300 degrees F.
The last bend was done without a jig. Once hot, I bent the back into place until I could loosely pin both sides with the wheel axles.
One design feature that I overlooked was how to press the wheel axles firmly into place. Ideally, I could get a small arbor press into the chassis and press the axles in place, but that wasn’t an option. After another jig and some careful work with some vices, I had the chassis complete.
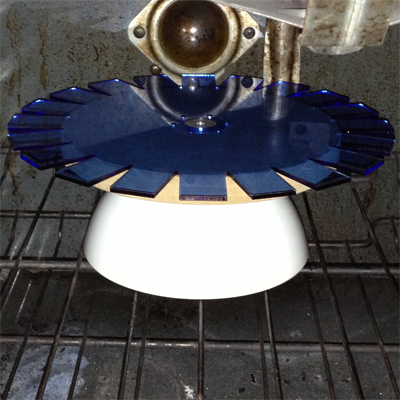
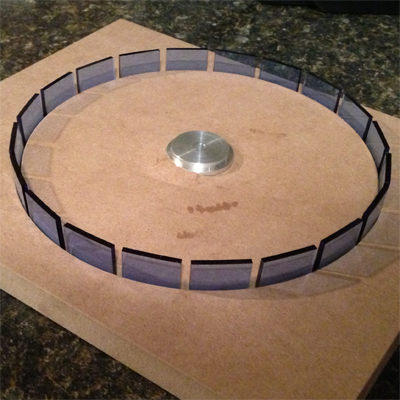
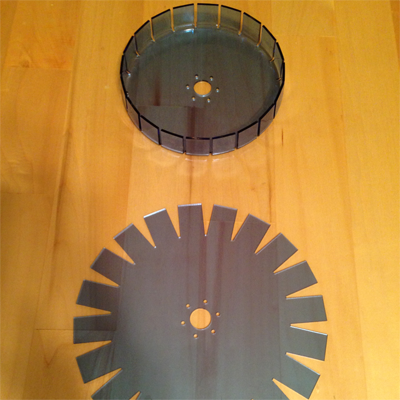
Forming the wheels was a much more interesting task than making the body. Put the flat wheel in the oven at 350 F for about 4 minutes and all of the tabs on the wheel should be bendable. I then pressed the wheel into a die that I cut out of MDF to form the final shape. I screwed one of the wheels up trying to press it into the mold. Not knowing what to do I put the wheel back in the oven. Low and behold, the memory of the plastic returned the wheel to it’s original shape when it got hot again!